We think you're a bot, if not
please contact us
please contact us
info@LRLBuilders.Com
Most homeowners who call us have already made at least one expensive mistake before they pick up the phone. Not because they were careless. Because nobody sat them down and explained what to think through before the first contractor showed up.
Maybe you have been living with a cramped kitchen for years. Maybe the bathroom still has the original tile from 1978 and you are finally done looking at it. Maybe your family has outgrown the space and you need more room. Whatever brought you here, you are in the right place.
This guide covers the entire process from your very first decision all the way to the final walk-through. Follow it and you will avoid the mistakes that turn a home remodel from an exciting upgrade into a months-long headache.
This sounds like the easy part. It is not.
Homeowners often start with a vague idea, "we want to update the kitchen", and end up in the middle of construction realizing they never decided on a layout, a cabinet style, or even what appliances they wanted to keep. At that point, the crew is standing there waiting and every decision you make costs more than it would have made two months earlier.
Start by writing things down before you call anyone. What is not working about the current space? What do you absolutely need to have, and what could you live without if the budget gets tight? Write two separate lists: must-haves and nice-to-haves. Your must-haves are non-negotiable. Your nice-to-haves get included if the budget allows, and they are the first things to cut if it does not.
Once you know what you want, gather visual inspiration from Houzz or Pinterest. Save photos of spaces you like and figure out what specifically appeals to you. Is it the cabinet style? The way the light comes in? The color palette? When you can describe what you want visually, your contractor can translate that into a real plan rather than guessing and getting it wrong.
Money is where most remodels go sideways, and it almost always comes down to the same thing: people plan for the project they want rather than the project they can afford.
According to the 2026 Houzz and Home Study, the median homeowner spent around $20,000 on renovations in 2025. A kitchen remodel typically runs between $15,000 and $75,000 depending on scope and materials, with most mid-range projects landing around $27,000. A full home remodel can be significantly more.
A few principles to budget by:
Spend what is realistic, not what you hope for. If you have $30,000, plan a $30,000 project. Cutting corners mid-project because you ran out of money is one of the most expensive things you can do.
Always set aside a contingency fund. Add 10 to 20 percent to your estimated project cost and keep it untouched. When walls open up in older East Bay homes, outdated wiring, galvanized pipes, and water damage are common findings. We see it regularly on homes built in the 1960s and 70s. That contingency is what keeps a surprise from stalling your entire project.
Know what drives costs up. Labor and structural or plumbing changes are the two biggest variables. Moving a wall or relocating a drain costs significantly more than cosmetic updates like new paint or fixtures. If you can design around existing plumbing locations, you will save real money. If you're planning a kitchen, we cover where that money tends to leak in the biggest waste of money in a kitchen remodel.
Think about how you will pay for it. Common options are a home equity line of credit (HELOC), a home equity loan, a cash-out refinance, or cash savings. A HELOC is flexible and good for phased projects. A home equity loan gives you a fixed amount with predictable payments. Talk to your lender before planning gets too far so you know your exact number before you fall in love with a design you cannot afford.
Here is something a surprising number of homeowners find out too late: skipping permits is not just against the rules. It can force you to tear out finished work, stall your project for months, and create serious problems when you try to sell.
In Walnut Creek, building permits are governed by the Walnut Creek Municipal Code and California Building Code (Title 24). The Planning and Building Department is at 1666 N. Main Street, Walnut Creek, CA 94596.
If you have an HOA, check your CC&Rs too. Interior remodels usually do not need HOA approval, but exterior changes may require architectural review before you submit to the city. In some Walnut Creek communities both need to happen, and running them at the same time saves weeks.
Planning a kitchen specifically? We break down the Walnut Creek rules job by job in do I need a permit to remodel my kitchen in California.
Once you know what you want, what you can spend, and what permits you need, define your scope in writing before you talk to a single contractor.
A scope of work is a detailed list of everything that will happen during the project. Here is why it matters so much: a vague scope leads to vague bids, and vague bids lead to budget overruns. If you ask three contractors to quote "a kitchen remodel" without specifying what that means, you will get three completely different numbers that are impossible to compare. One of them will look much cheaper, and that is usually the one that left half the work out.
Your scope should cover:
Going through this process also forces you to make decisions before construction starts, not under pressure with a crew standing around waiting.
This is the step that determines everything. You can have a great budget, a perfect scope, and a beautiful design, and still end up with a disaster if you choose the wrong person to build it.
According to the National Association of the Remodeling Industry (NARI), most homeowners ask the wrong questions when interviewing contractors. They ask when can you start, when will you finish, and how much will it cost. Those questions matter, but they are not the ones that tell you whether someone is actually trustworthy and competent.
Here is what you should actually be asking:
Get at least three bids and compare them line by line, not just by the total number. A bid that comes in significantly lower than the others usually means something was left out of the scope. That missing item will show up as a change order later, often at a higher price than if it had been included from the start.
Once you choose a contractor, get everything in writing before work begins. The contract should include a detailed scope of work, a payment schedule tied to milestones rather than arbitrary dates, the specific materials and finishes agreed on, and a clear process for handling changes.
Never pay the full amount upfront. A reasonable deposit is 10 to 30 percent, with the remainder paid as work is completed and verified.
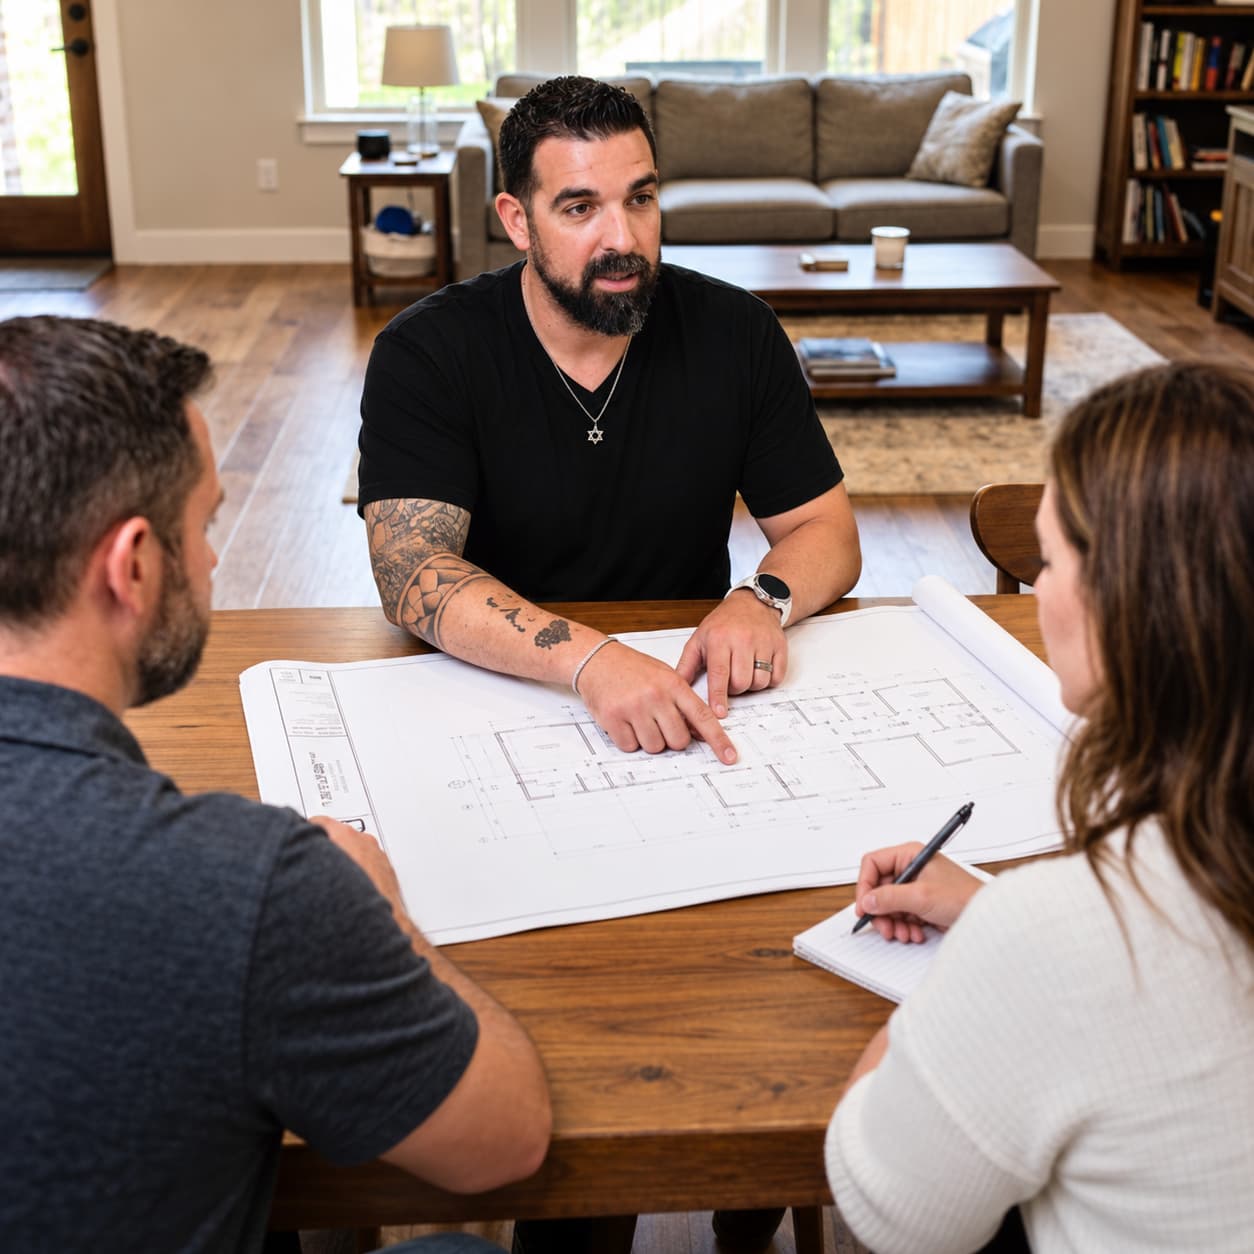
People underestimate this part. A remodel is not just a construction project happening in one corner of your house. It is a full disruption to daily life, sometimes for weeks or months, and the less you prepare for it the harder it gets.
Think through the practical questions before day one. Where will you eat if the kitchen is out of commission? Set up a temporary cooking area with a microwave and coffee maker, or budget for more takeout than usual. Which rooms will be off-limits and how will you explain that to kids or pets? Where will you store everything that needs to come out of the space being renovated?
Ask your contractor how they plan to contain construction dust. A good crew uses plastic sheeting and air filtration to keep dust out of the rest of the home. If anyone in the house has respiratory sensitivities, make sure this is in writing before work begins.
Set up a communication plan from day one. How often will you get updates? Who do you call if something comes up on a Tuesday afternoon? Consistent communication is what separates a smooth project from one where you feel like you have no idea what is happening in your own home.
Knowing the sequence of a remodeling project helps you follow along, ask informed questions, and catch issues before they get covered up by drywall or flooring.
Most projects follow this order: demolition first, then structural work, then rough plumbing and electrical inside the walls. Inspections happen at this stage before walls are closed. Then insulation, drywall, flooring, cabinets, countertops, finish plumbing and electrical, and finally painting, trim, and hardware.
One thing that regularly catches homeowners off guard: if your project includes a glass shower enclosure, the glass gets measured and templated only after tile is completely set, then goes out for fabrication. That process typically takes two weeks. Plan for it so you are not surprised when the shower looks finished but cannot be used yet.
Permits are officially closed after the final inspection is passed. Do not let your contractor skip this step. Unpermitted work shows up during home sales and can create serious problems in escrow, sometimes requiring you to open walls and redo finished work.
For a kitchen, we map out what each phase takes in how long a kitchen remodel actually takes.
No matter how well you plan, something will come up. It always does. A wall opens on a pipe that needs replacing. You see the tile going up and realize you want a different grout color. The subfloor turns out to be in worse shape than anyone expected.
These things are normal. What matters is how they get handled.
Every change to the original scope should go through a formal change order, a written document describing what is being added or modified, the adjusted cost, and any timeline impact, signed by both you and your contractor before the work is done. This is not bureaucratic paperwork. It is the only thing that protects you from a surprise bill at the end of the project.
Do not make design decisions on the fly during construction. If you see something you want to change, pause, get the cost impact in writing, and then decide with a clear head. Track your remaining contingency as change orders come in. That fund is for necessary surprises, not upgrades you decide on halfway through.
The project is nearly done. Do not rush this part.
Schedule a proper walk-through of every room before you release final payment. Come with fresh eyes and look carefully for:
Everything that needs fixing goes on the punch list, a written record of outstanding items. Give your contractor a reasonable window to complete them, then do a second walk-through to verify everything is done before you sign off.
Do not release final payment until the punch list is complete and you are satisfied. That payment is your primary leverage as the homeowner, and releasing it early removes it completely. Also collect all warranty information, care instructions, permit close-out paperwork, and product documentation at the end. Keep them in a dedicated folder. You will need them when you sell.

A well-planned home remodel does more than improve how you live in your home today. It adds real, lasting value to one of the most significant financial assets you own.
The projects that go sideways almost always had the same problems at the start: unclear goals, unrealistic budgets, vague contracts, and the wrong contractor. The projects that go well, and that homeowners are genuinely proud of years later, had the opposite.
At LRL Builders, we have been working through this exact process with homeowners across Walnut Creek, Lafayette, Concord, Pleasant Hill, and Danville since 2007. We help you get the scope right before anything starts, pull all necessary permits, and manage the project from first site visit to final walk-through with clear communication and no surprise charges at the end. See one of our complete home remodels in Walnut Creek, or learn more about our home remodeling services.
If you are ready to start planning, reach out for a free estimate or call (925) 905-9995. Let us help you do it right from the beginning.

Plan on 10 to 20 percent of your estimated project cost and keep it untouched. In older East Bay homes, especially those built in the 1960s and 70s, opening walls often reveals outdated wiring, galvanized pipes, or water damage.
Plumbing changes, wall removal, electrical work, room additions, structural changes, and ADUs usually need a permit. Painting, flooring, cabinet refacing, and fixture swaps where no plumbing is moved usually do not.
It depends on the work. Wall removal permits typically take about four weeks to process, and room additions or structural changes can take six to eight weeks for approval.
At least three, compared line by line rather than by the total. A bid that comes in much lower than the others usually left something out of the scope, and that item tends to come back later as a more expensive change order.
A reasonable deposit is 10 to 30 percent. The rest should be paid as work is completed and verified, on a schedule tied to milestones rather than dates. Never pay the full amount upfront.
Check the license yourself at cslb.ca.gov. For insurance, ask for liability and workers compensation certificates and call the insurer directly to confirm the policies are active right now.
Only after the punch list is complete and verified on a second walk-through. The final payment is your main leverage as a homeowner, so hold it until you are satisfied and have your warranty and permit close-out paperwork.

We are a trusted and experienced General Contractor serving Walnut Creek, CA, and the East Bay Area.