We think you're a bot, if not
please contact us
please contact us
info@LRLBuilders.Com
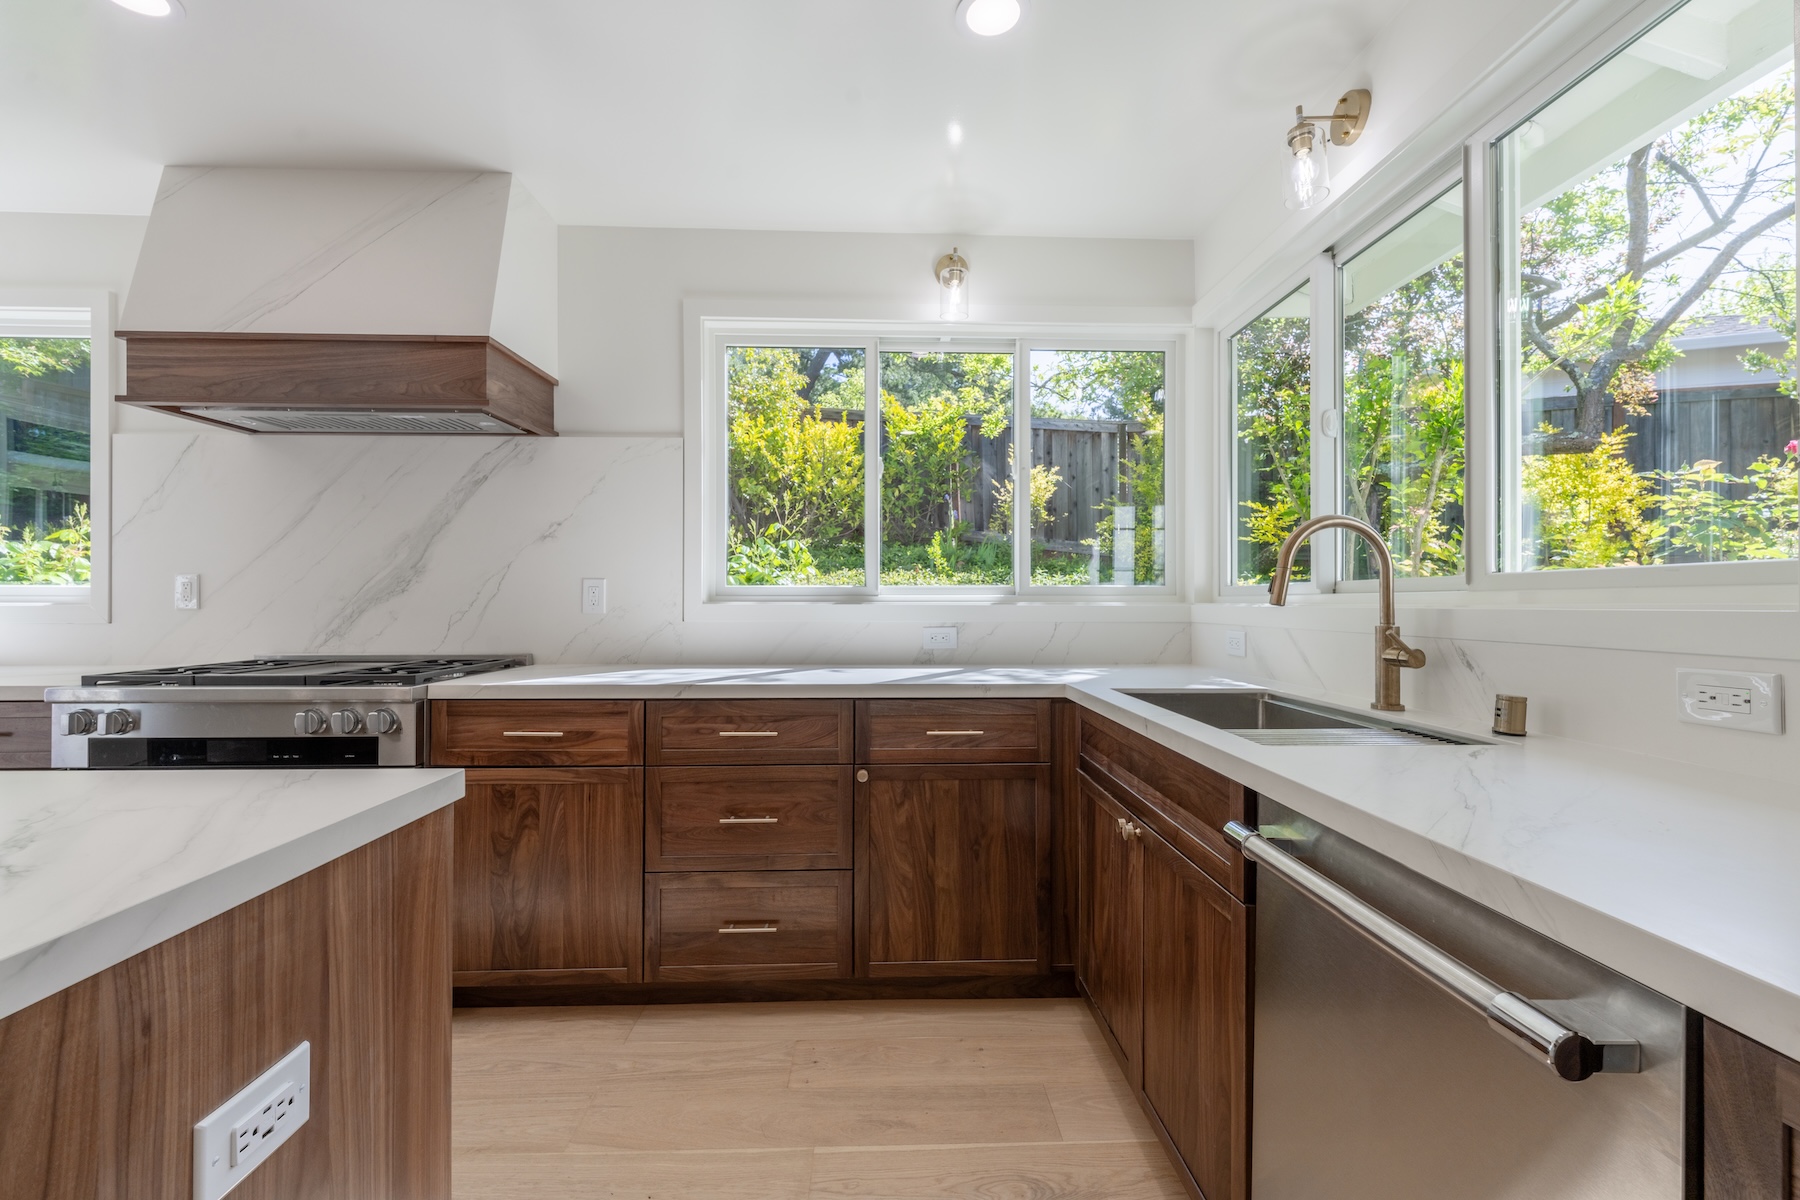
Your kitchen is the busiest room in your home. So when you remodel it, the last thing you want is to finish the job and realize the outlets are in the wrong spots, the lights create shadows over your counters, or a tripped breaker shuts everything down every time you run the microwave and toaster at the same time.
These are not rare problems. They happen all the time — and almost always because electrical and lighting planning was left for the end.
At LRL Builders, we've handled kitchen remodeling projects across the East Bay for years. One thing we see over and over: homeowners put so much thought into cabinets, countertops, and tile — and not enough into what goes inside the walls and ceiling. This guide is here to change that.
Here's how to plan your kitchen electrical and lighting changes the right way — before a single cabinet goes in.
Before you think about circuits or light fixtures, think about your daily routine.
These questions shape every electrical decision. A kitchen where someone bakes every morning needs outlets in completely different spots than one where dinner is mostly reheated meals. A family that charges phones and tablets at the island needs USB outlets built in from the start.
Don't copy your old kitchen's electrical layout just because it's already there. Kitchens from 10 or 15 years ago weren't designed for air fryers, instant pots, espresso machines, and smart displays all running at once. Your new kitchen needs to be built for how you live today — and for the appliances you'll add in the next few years.
This is the most important rule in kitchen electrical planning: make your decisions early.
Once cabinets are installed and drywall goes up, even small changes get expensive fast. You're looking at cutting into finished walls, patching, repainting, and redoing work that was already done. Early electrical planning keeps your project on budget and avoids frustrating surprises.
Here's what needs to be locked in before wiring begins:
Share all of this with your contractor before work starts. At LRL Builders, we make sure electrical and layout decisions are aligned before anything gets framed out — because changes mid-project cost everyone time and money.
Your kitchen needs more dedicated circuits than almost any other room in the house. Here's a simple breakdown of what the National Electrical Code (NEC) requires — and what actually makes your kitchen work well:
Small appliance circuits: You need at least two dedicated 20-amp circuits for countertop appliances. That covers your toaster, coffee maker, blender, and similar items.
Dedicated appliance circuits: Big appliances each need their own circuit so they don't trip the breaker when everything runs at once:
Electrical panel capacity: If your home has an older 100-amp panel, a full kitchen remodel is a good time to upgrade. Modern kitchens can draw significant power, and an undersized panel leads to constant nuisance trips.
Don't plan only for the appliances you have right now. If you're thinking about switching from a gas cooktop to induction in the next few years, have the wiring roughed in now. It's far cheaper than doing it later.
Meeting the minimum code for outlet placement is the floor — not the goal. The NEC requires outlets along countertops no more than four feet apart, but that doesn't mean they'll be where you need them.
Common spots people forget:
GFCI outlets in the kitchen: Any outlet near a water source — near the sink, on the island, along the countertop — must be GFCI protected. These outlets cut power instantly if they detect a problem, protecting your family from electric shock. This is code, and it's non-negotiable.
Countertop outlet placement: Place outlets 15–20 cm above the countertop surface and at least 30 cm from the sink. Your contractor and electrician will know the exact local requirements for the East Bay.
A good rule of thumb: if you're imagining having to stretch a cord across the counter to reach an outlet, you need an outlet closer to that spot.
Here's where a lot of kitchen remodels look good but feel wrong. The space is bright, but there are shadows exactly where you're trying to chop vegetables. Or every light is on the same switch, so you either light up the whole room or sit in the dark.
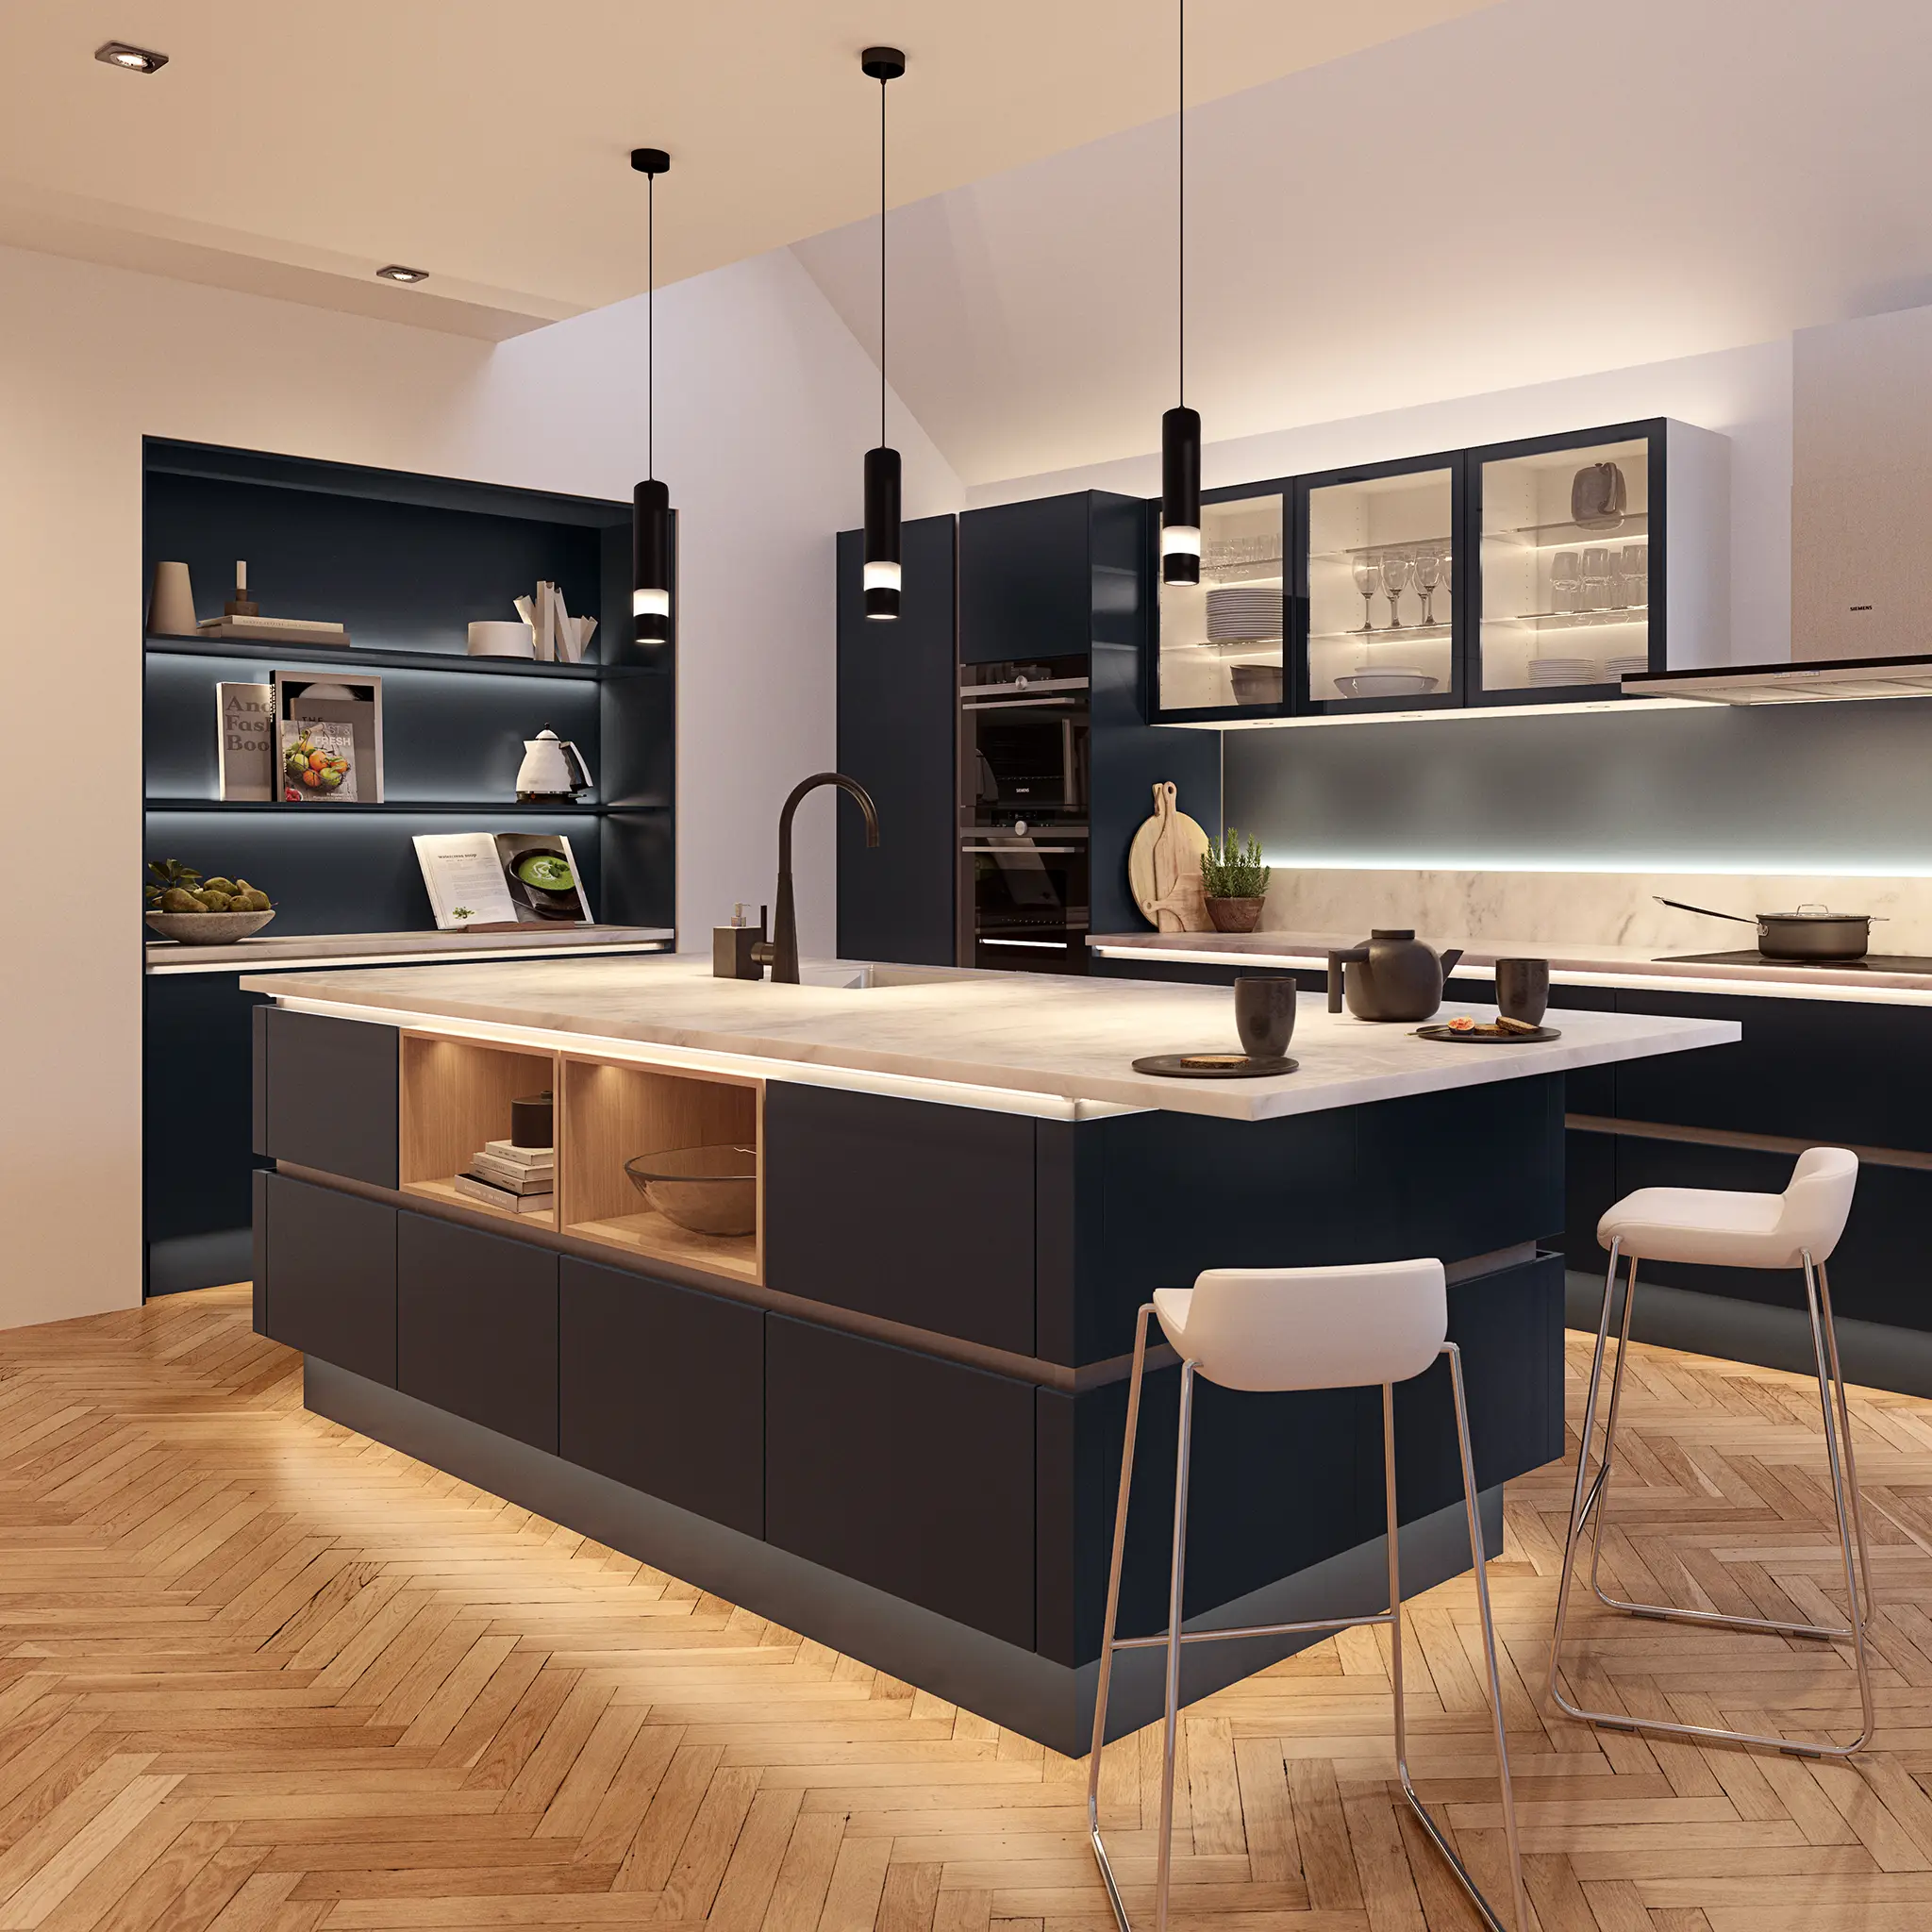
Good kitchen lighting design uses three layers — and each one serves a different purpose.
This is your main overhead lighting that fills the whole room. Recessed lighting in the kitchen ceiling is the most common choice. Space them evenly — usually one every four to six feet — so you don't get dark spots or overlapping glare.
Tip: More recessed lights is not always better. Too many ceiling lights can create glare on countertops and make the room feel harsh. Plan for the right number in the right places, not the maximum number you can fit.
This is the most important lighting in your kitchen — and the most often skipped.
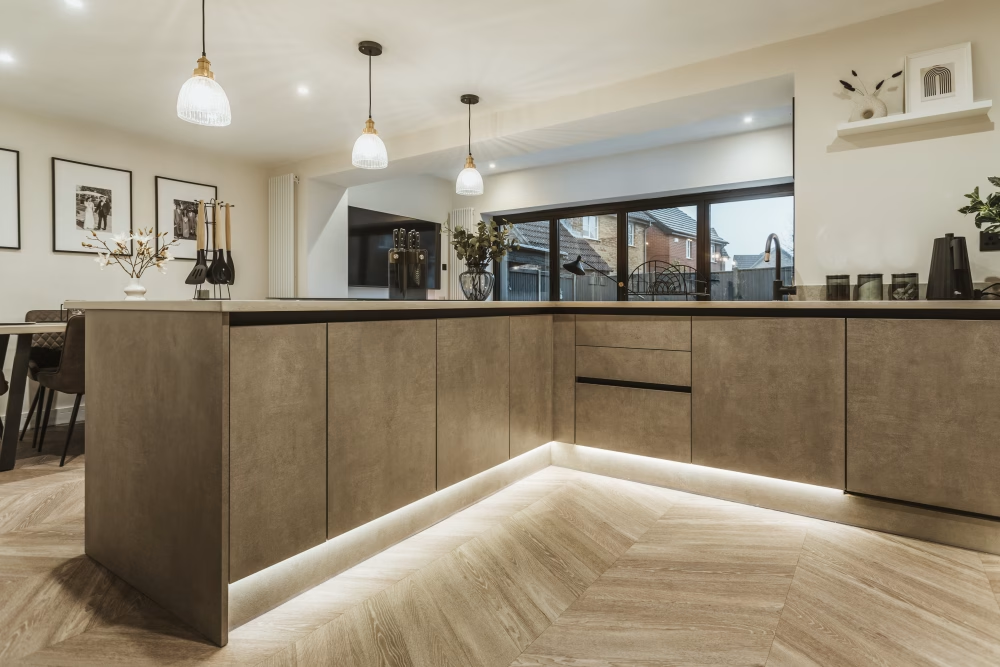
Under-cabinet lighting is one of the best upgrades you can add. It puts direct light on your countertop and work surface so you're not cooking in your own shadow. LED strips under wall cabinets are energy-efficient, long-lasting, and easy to control.
Also consider task lighting over the sink — a recessed light or small pendant aimed directly at the sink makes dishwashing and prep much easier.
This layer is about warmth and style. Pendant lighting over a kitchen island is the most popular choice right now. It adds visual interest, defines the island as a space, and creates a different feel in the evening when you're not cooking.
Island lighting tip: Hang pendants 30–36 inches above the island surface. If you have two or three pendants in a row, space them evenly and center them over the island, not the room.
Open shelves, glass cabinets, and toe-kick lighting are other places accent lighting works beautifully. These are on separate switches so you can use them independently from the main lights.
Where you put your light switches matters more than most people realize. If you have to walk across the kitchen to turn the lights on, something is wrong with the plan.
Dimmer switches: Install dimmers on your ambient and accent lighting at minimum. Dimmers let you go from bright cooking light to a soft dinner glow without rewiring anything. They also extend the life of LED bulbs.
Smart kitchen lighting: Smart switches and dimmers are worth considering if you want to control your kitchen lights from your phone, set schedules, or connect to a home automation system. They cost a little more upfront but add real convenience — especially for households where different people have different routines.
Two devices protect your kitchen from the most common electrical hazards:
GFCI outlets (already covered above) protect against shock near water. Required near the sink and along countertops.
AFCI breakers (Arc-Fault Circuit Interrupters): These detect dangerous electrical arcing — the kind that starts fires inside walls — before damage happens. Many local codes now require them in kitchen circuits. Even where they're not required, they're a smart addition.
Both of these are small costs compared to the safety they provide. A good contractor will make sure you have them where you need them.
While you're planning your kitchen lighting, choose LED fixtures across the board. LED kitchen lighting uses up to 75% less energy than older incandescent bulbs and lasts many times longer.
Color temperature matters:
Mixing color temperatures in the wrong way can make a kitchen feel inconsistent and off. Pick a temperature range and stick to it throughout the space.
Before any wiring happens, draw a simple floor plan of your kitchen. Mark where every outlet, switch, light fixture, and appliance will go. You don't need to be an architect — a rough sketch works.
This simple step helps you:
Share this sketch with your contractor. They'll refine it with an electrician and flag anything that doesn't work before work starts — not after.

Before your remodel begins, run through this:
Planning your kitchen's electrical and lighting layout is one of the most important things you can do before the project starts — and it's one of the areas where having an experienced contractor makes a real difference.
At LRL Builders, we guide East Bay homeowners through every stage of a kitchen remodel, including helping you coordinate electrical planning so nothing gets missed. If you're starting to think through your kitchen renovation, we're happy to walk through your space and help you figure out what makes sense.
Reach out to LRL Builders today — no pressure, just a straightforward conversation about your kitchen and what's possible.

The National Electrical Code requires outlets along every counter run with no more than four feet between them. But code is just the minimum. A practical kitchen remodel should include outlets at every work zone — both sides of the island, inside appliance garages, near the prep area, and in the pantry if you have one. Most modern kitchens end up with significantly more outlets than code requires, and that's a good thing.
Yes — and not just near the sink. Any outlet within six feet of a water source must be GFCI protected, which covers most countertop outlets in a kitchen. GFCI outlets cut power in milliseconds if they detect a problem, preventing electric shock. This is required by code and something LRL Builders includes in every kitchen remodel as a standard safety measure.
A standard kitchen needs at least 7 circuits. That includes two 20-amp circuits for small countertop appliances, plus dedicated circuits for the refrigerator, dishwasher, range or cooktop, built-in microwave or wall oven, and garbage disposal. If you're adding an induction cooktop or double oven, you may need more. It's always better to plan for an extra circuit now than cut into finished walls later.
The best kitchen lighting uses three layers working together: ambient lighting (recessed ceiling lights that fill the room), task lighting (under-cabinet LEDs that light your work surface), and accent lighting (pendants over the island or lights inside glass cabinets). Each layer should be on its own switch or dimmer so you can adjust the mood without turning everything on or off at once.
Before anything else. Electrical decisions need to be finalized before cabinet layout is set, before walls are closed, and ideally before demo is complete. If you wait until the kitchen is halfway done, even small changes — adding an outlet, moving a switch — require cutting into finished surfaces and redoing work. Early planning is one of the biggest money-savers in any kitchen remodel.
Electrical costs vary depending on how much changes. If you're just adding a few outlets and updating fixtures, you might spend $1,500–$3,000. A full rewire with new circuits, panel upgrades, and layered lighting can run $5,000–$10,000 or more. The exact number depends on your home's existing panel capacity, the size of your kitchen, and what you're adding. The good news: investing in proper electrical work upfront almost always costs less than fixing it after the kitchen is finished.
Yes. A kitchen remodel is the ideal time to add extra outlets because the walls are open. You can place them on the island, inside cabinets, or near your main prep area for added convenience.
If your home has an older panel or you're installing high-powered appliances, an electrical panel upgrade may be needed. An electrician can check if your current system can safely handle your new kitchen.

We are a trusted and experienced General Contractor serving Walnut Creek, CA, and the East Bay Area.


.webp)