We think you're a bot, if not
please contact us
please contact us
info@LRLBuilders.Com
So you've finally decided it's time. The cracked tiles, the outdated vanity, the showerhead that sprays sideways — your bathroom has been asking for a makeover for a while now. The good news? A bathroom remodel is one of the best investments you can make in your home. The slightly scary news? Without a solid plan, it can turn into a stressful, over-budget nightmare.
Here in the East Bay and Walnut Creek area, we see this all the time. Bay Area homeowners tend to stay in their homes longer than average — which means turning your current house into your dream home matters more than ever. And the bathroom is almost always at the top of the list.
That's exactly why we put together this bathroom renovation planning guide. Whether you want to handle parts of it yourself or hire a contractor for everything, this guide walks you through how to plan a bathroom remodel from the very first sketch all the way to the final coat of paint.
Let's get into it.
Here's something most homeowners learn the hard way: jumping into a bathroom renovation without a plan is like driving cross-country without a map. You might get somewhere, but it'll cost you way more time and money than it needed to.
Good bathroom remodel planning helps you:
The difference between a smooth remodel and a chaotic one almost always comes down to how well you planned it upfront. So let's do this right.

Before you look at a single tile sample or call a single contractor, sit down and get clear on what you want. This is the fun part — and also one of the most important steps in planning a bathroom remodel.
What are the things you absolutely need in your new bathroom? Think about function first:
Write these down. These are non-negotiable.
Once you have your must-haves, dream a little. What would make you truly love your bathroom every morning?
Your wish list helps your contractor understand your vision. Some of these things may fit your budget; others might not. But you won't know until you have the conversation.
Scroll through Pinterest, Instagram, or Houzz. Save photos of bathrooms that speak to you. You'll start to notice patterns — maybe you're drawn to earthy tones and stone tiles, or maybe you love a clean, minimalist white-and-chrome look. Knowing your style before talking to a contractor saves everyone time.
One helpful tip: try to mix timeless choices with a few modern touches. All-trendy bathrooms can feel dated in five years. Natural stone, neutral colors, and quality fixtures tend to age well.

Now for the part most people dread — the budget. But here's the thing: a clear budget actually makes the whole bathroom remodeling plan easier, not harder. It gives you guardrails.
Costs vary widely based on the size of your bathroom, how much you're changing, and where you live. As a general starting point, most full bathroom remodels fall somewhere between $100 and $275 per square foot, covering both materials and labor.
A small bathroom (around 50 sq ft) full remodel is typically the most budget-friendly option, while $18,000–$28,000 covers updates without changing the layout, such as converting a tub/shower combo into a walk-in shower. Larger master bathroom remodels with full layout changes, plumbing adjustments, and premium finishes can range from $28,000–$90,000+, depending on the scope and materials.
This is important: set aside 15–20% of your total budget for unexpected costs. Renovation surprises are not an "if" — they're a "when." Opening walls almost always reveals something that needs fixing. It might be old plumbing that's out of code. It might be water damage you didn't know was there. Having that cushion means you don't have to stop the project or panic.
For example, if your budget is $15,000, plan to keep $2,250–$3,000 untouched until the very end.
This step is where your bathroom remodeling plan gets real. You're deciding where everything goes — and some of these choices have major budget implications.
Moving plumbing is expensive. If your toilet, shower, and sink stay roughly where they are, you'll save a significant amount of money. Moving plumbing to an entirely new layout can add several thousand dollars to your project.
That said, if your current layout just doesn't work — maybe you have a giant tub you never use taking up half the room — it might be worth the added cost to rearrange.
Talk to your contractor about feasibility and what the cost difference would actually be. Sometimes it's less than you expect. Sometimes it's a lot more.
This one sounds obvious, but it causes more delays than almost anything else. Before you order anything, measure your bathroom carefully:
Don't forget to factor in how much space you need to open cabinet doors and drawers. A beautiful vanity that can't fully open because the door swings into it is a frustrating mistake.
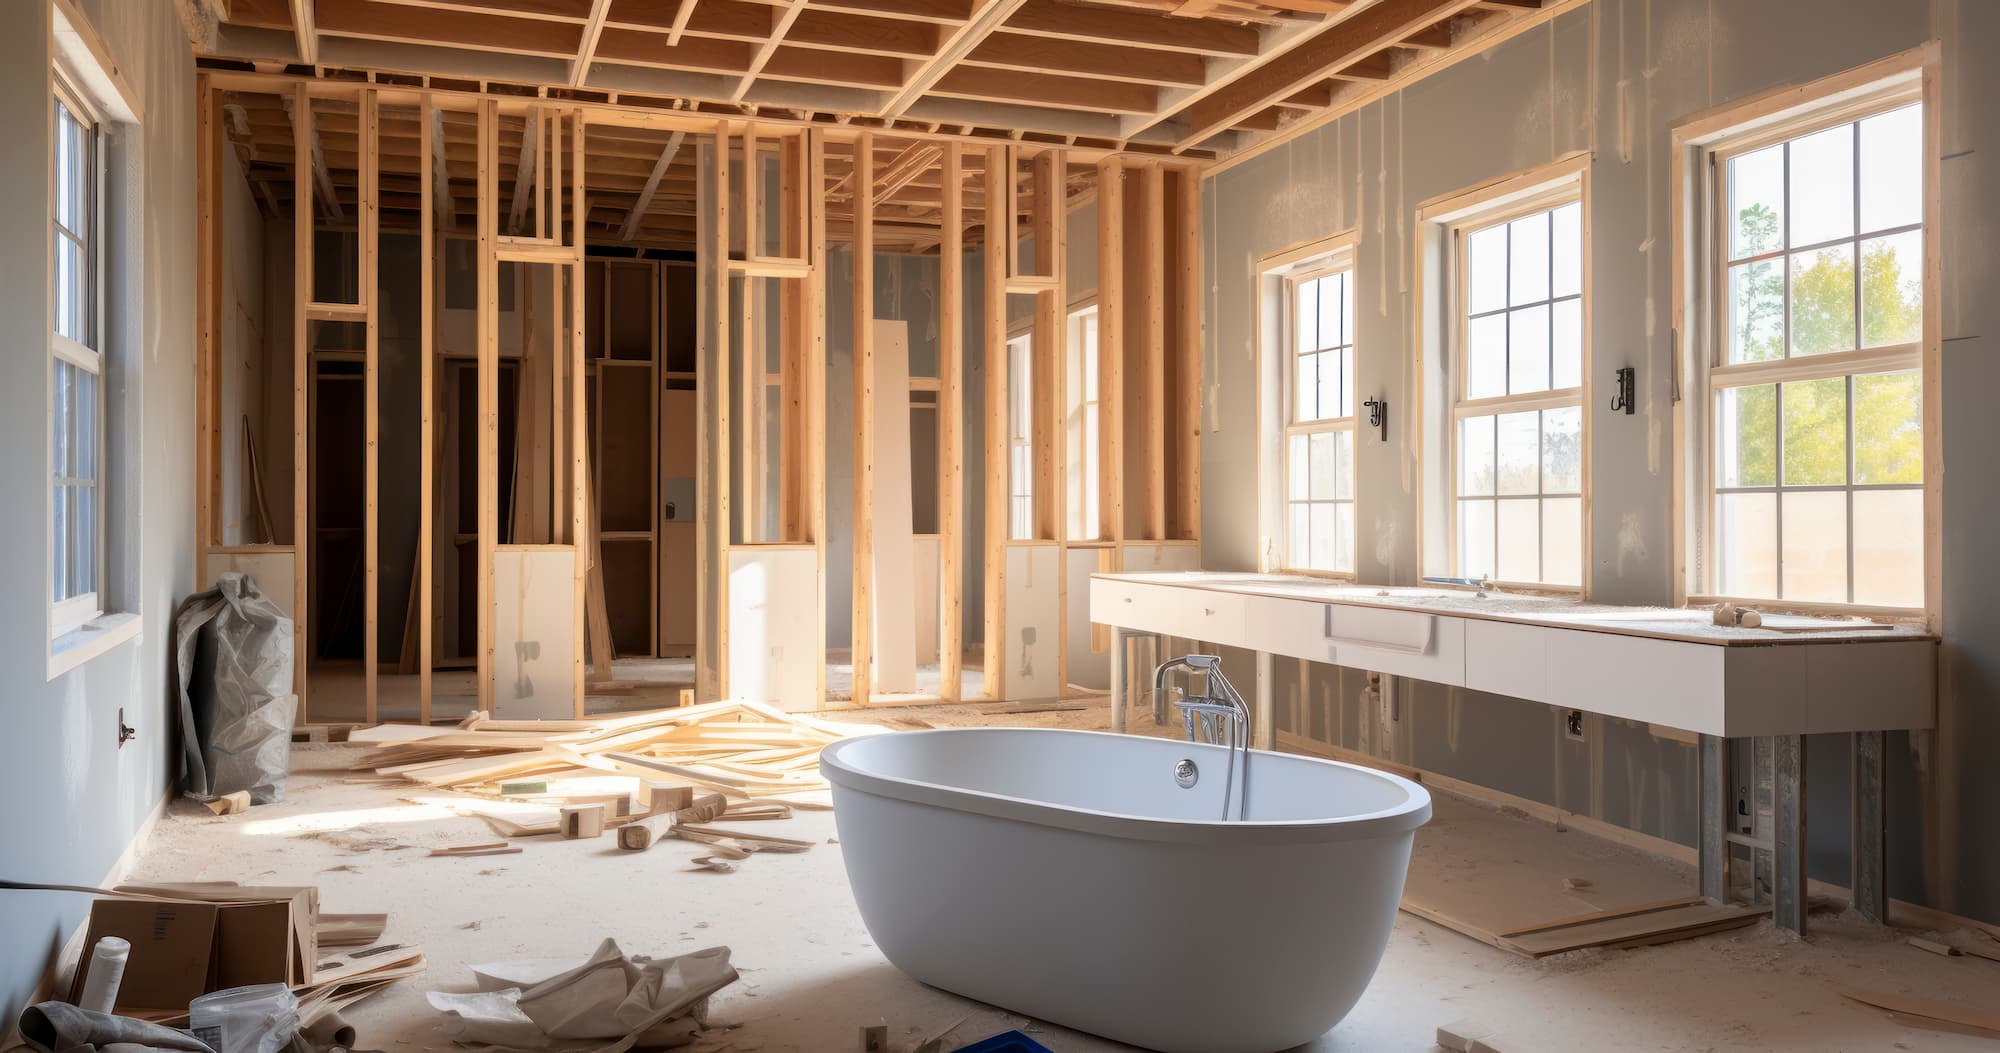
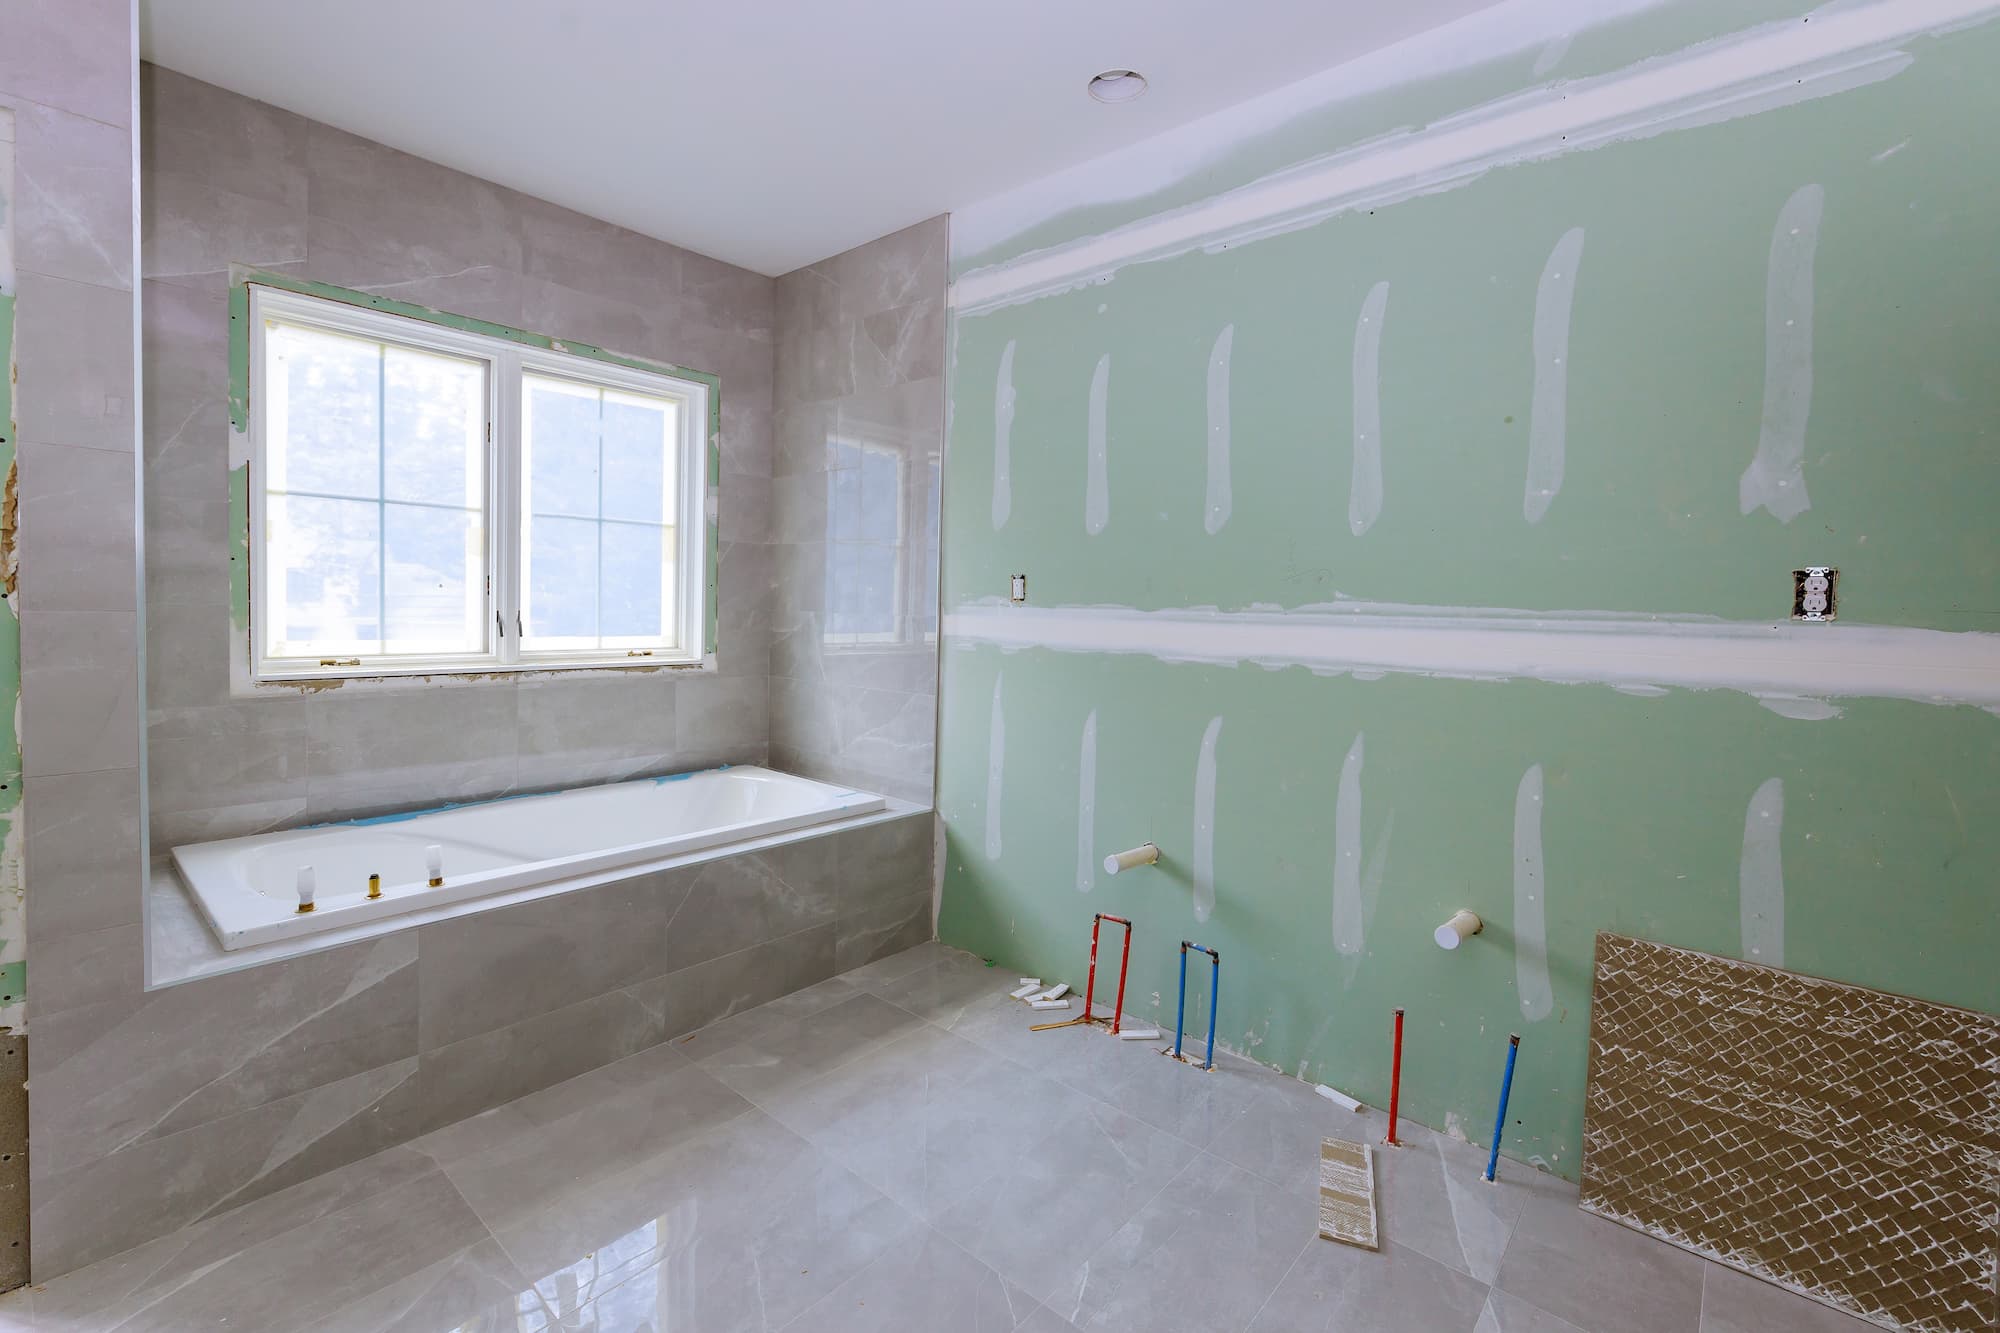
If you're doing a major remodel, your contractor will likely do a plumbing and electrical "rough-in." This is when old pipes and wiring get updated before the walls close back up.
Even if you're not moving anything, you may need updates to bring your bathroom up to current building codes. This is especially true in older homes. A licensed electrician should install GFCI (ground fault circuit interrupter) outlets near water sources — it's a code requirement in most places.
This is also a smart time to think about upgrades you won't be able to add easily later, like:
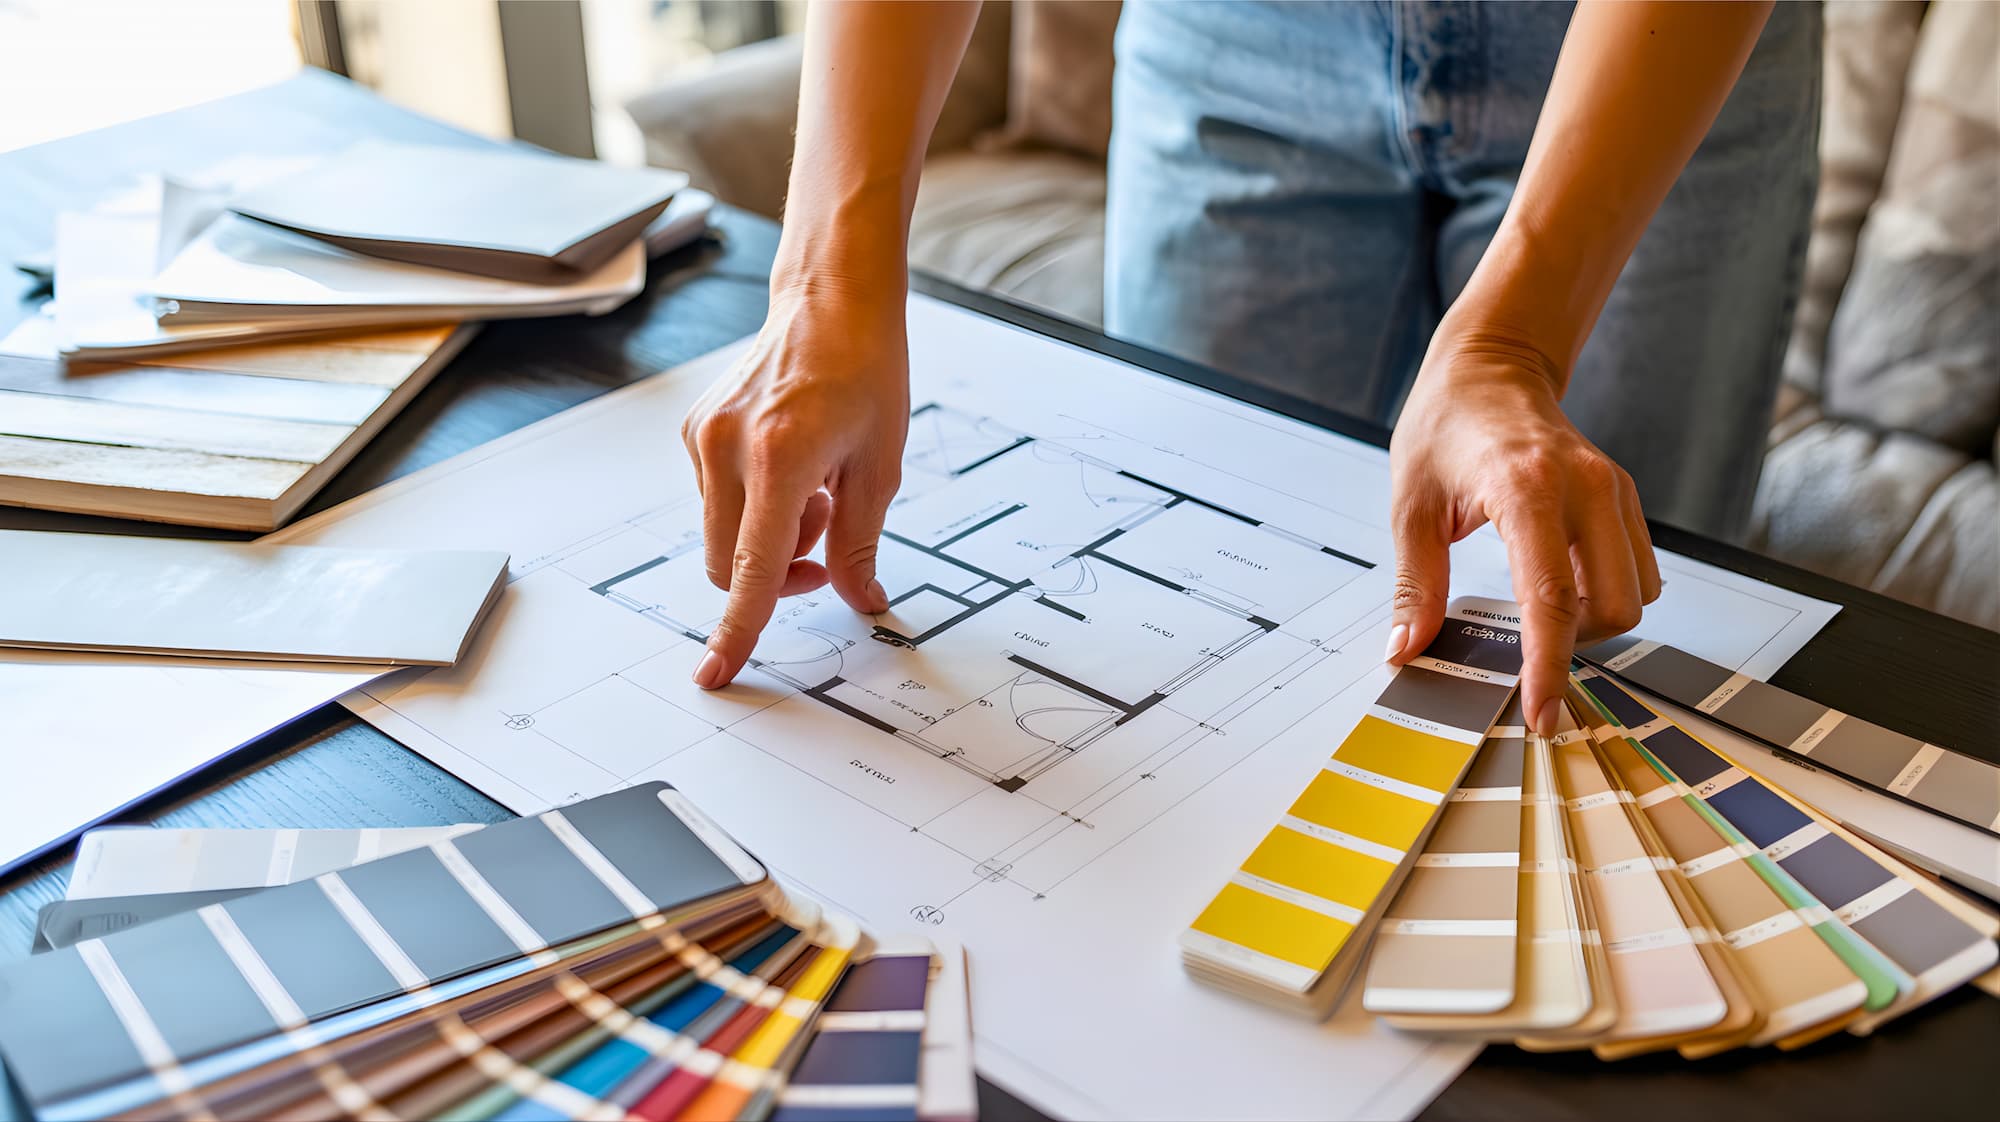
Now comes the really fun part of the bathroom renovation planning guide — actually designing the space.
Your design choices will heavily influence both the final look and the final cost. Here's what you'll need to decide:
Flooring: Natural stone, ceramic or porcelain tile, and luxury vinyl are all popular options. Whatever you choose, make sure it's rated for wet areas and isn't slippery when wet.
Wall tile: For the shower or tub surround, you'll need water-resistant tile. Large-format tiles (like 12x24 or 24x48 inch slabs) are trending right now and create a clean, modern look. Smaller mosaic tiles on the shower floor help water drain better and add grip.
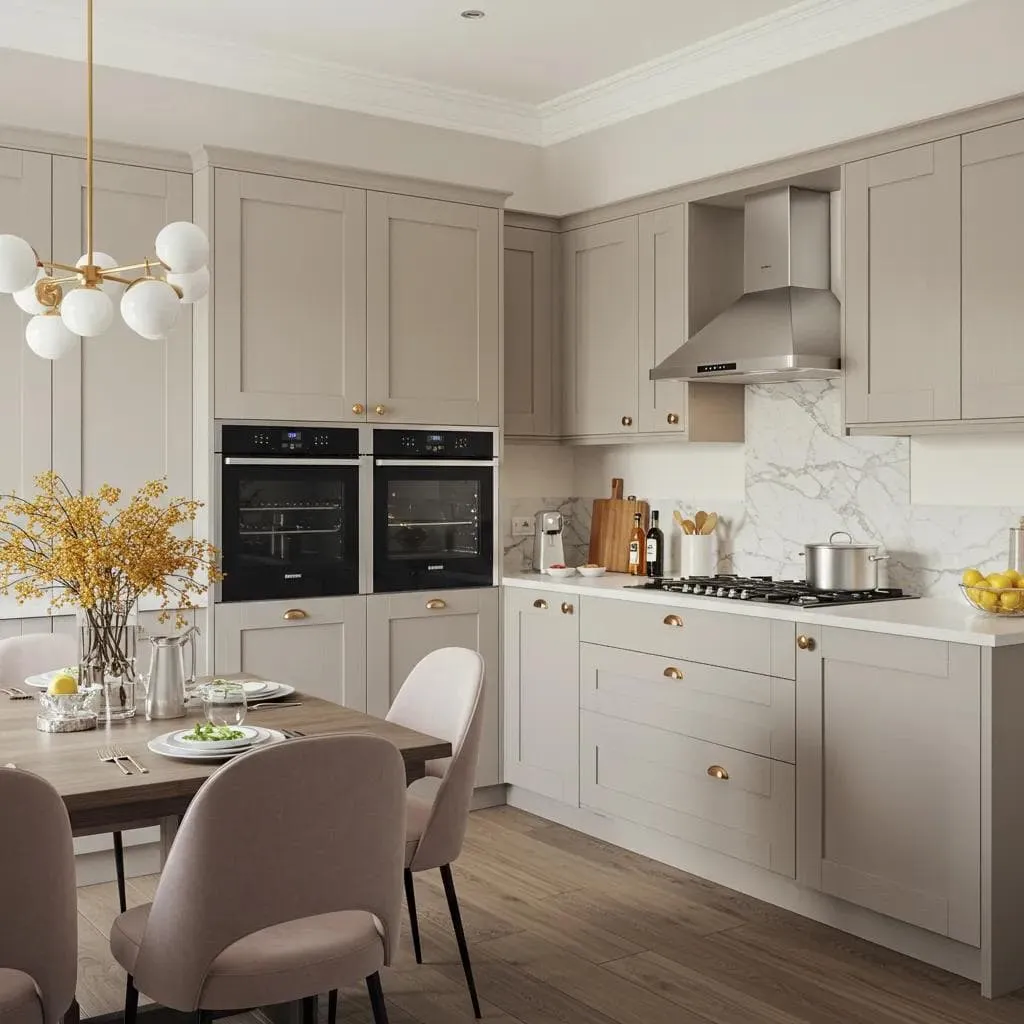
Vanity: The vanity is often the focal point of the bathroom. Think about: single vs. double sink, floating vs. floor-mounted, open shelving vs. drawers. Floating vanities make a bathroom feel larger and are easier to clean.
Fixtures and hardware: Faucets, showerheads, towel bars, toilet paper holders — these small details pull the whole look together. Matching finishes (like matte black, brushed nickel, or polished chrome throughout) create a cohesive feel.
Lighting: Don't underestimate lighting. Plan for task lighting around the mirror (so you're not putting on makeup in shadow), ambient ceiling lighting, and if possible, a dimmer switch for mood.
Toilet: Today's toilets are more efficient and more feature-rich than ever. Comfort height toilets are easier for most adults. Dual-flush toilets save water. Smart toilets with bidet functions are growing in popularity.
One great trick before committing to anything: use a free online bathroom planner like RoomSketcher to lay out your space digitally. You can drag and drop fixtures, try different tile patterns on the walls and floors, and get a 3D preview of the finished look. This saves you from ordering something only to realize it doesn't work.
Color sets the mood. A few timeless directions:
Whatever you choose, make sure the wall color, tile color, and fixture finishes work together before you commit.

For most significant bathroom remodels — anything involving moving walls, changing plumbing, or updating electrical — the answer is yes, you need a permit. This varies by city and state, so check with your local building department. In San Francisco and across the East Bay (including Walnut Creek, Concord, and Pleasant Hill), your contractor will typically apply for the permit on your behalf — but you should confirm this upfront and build the processing time into your schedule.
Getting a permit might feel like extra paperwork, but it protects you. Permitted work is inspected, which means it's done to code. When you go to sell your home, unpermitted work can create big problems. Many contractors handle the permit application themselves, so ask about this upfront.
Permit applications can take a few weeks to process, so start this early.
This is one of the most important decisions in your bathroom remodel planning process. Here's what to look for:
One thing experienced renovators always say: the cheapest bid is rarely the best choice. Extremely low bids sometimes mean shortcuts, cheap materials, or surprise charges later.
Ideally, find a general contractor who manages the whole project — plumbers, electricians, tile setters — rather than having to coordinate multiple separate tradespeople yourself.
Once your design is locked in and your contractor is hired, don't wait to order materials. Supply delays are one of the most common reasons bathroom remodels run over schedule.
Custom items — like specialty tile, a custom vanity, or a frameless glass shower enclosure — can take 6–10 weeks to arrive. Standard items from big box stores are usually quicker, but stock availability isn't guaranteed.
Your contractor should be able to help you create a materials list and timeline. Get everything ordered before demolition starts if possible.
Before your contractor's crew shows up, do a few things to make the process smoother:
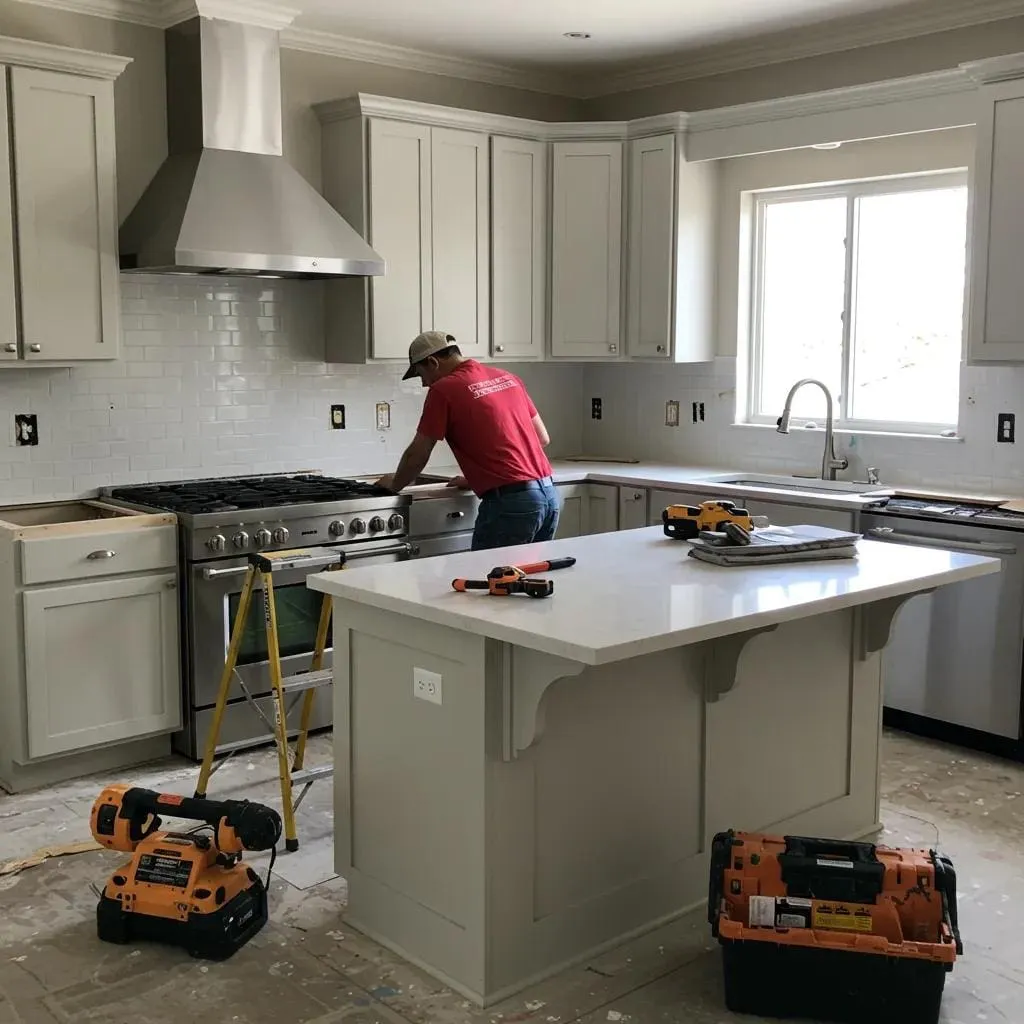
Here's what to expect once work actually begins:
Everything that isn't staying comes out first — old tile, flooring, fixtures, sometimes drywall. This is loud. This creates a lot of debris. A good contractor will haul it all away.
After demolition, plumbing pipes and electrical wiring get updated before the walls close back up. This is the time to make any layout changes to where fixtures will be. An inspection is typically required at this stage before work can continue.
In wet areas like the shower, cement board and a waterproofing membrane (like RedGard) go up before any tile. Regular drywall goes on other walls. Waterproofing is critical — skimping here is how you end up with mold behind your shower tiles.
Tiling is time-consuming and requires skill. A good tile setter plans the layout before a single tile goes down so cuts are symmetrical and edges look intentional. Shower floor tiles need to be graded toward the drain — small format tiles on a mesh backing make this much easier.
Paint goes on after drywall but before fixtures are installed, so there's no masking around them. Use a satin or semi-gloss finish — it handles humidity much better than flat paint.
The toilet, vanity, sink, shower hardware, mirrors, and light fixtures all go in during this phase. At this point the bathroom really starts to look finished.
Towel bars, toilet paper holders, hardware, caulking, grout sealing, and a thorough cleanup. Then comes the walkthrough with your contractor to review everything before they pack up.
Before your contractor leaves for good, do a full walkthrough together. Check:
Get any issues noted in writing and make sure they're fixed before final payment is made.
If you want to save money by doing some work yourself as part of a full bathroom renovation DIY step-by-step approach, here's a general guide:
OK for most DIYers:
Best left to licensed pros:
Doing electrical or plumbing work without a license in most places is illegal — and if something goes wrong, your homeowner's insurance may not cover damage from unpermitted work.
Learning from other people's mistakes is way cheaper than learning from your own. Here are the big ones:
1. Not planning for storage. A beautiful bathroom with nowhere to put anything gets frustrating fast. Think about drawers, shelves, medicine cabinets, and under-sink storage from the very beginning.
2. Ignoring ventilation. A good exhaust fan isn't optional — it's essential for preventing mold and mildew. Make sure yours is properly sized for your bathroom square footage.
3. Choosing style over function. That gorgeous vessel sink might look stunning, but if it splashes water everywhere every time you wash your hands, you'll hate it. Always check reviews on fixtures for real-world usability.
4. Ordering the wrong amount of tile. Don't guess. Calculate your square footage, then order 10–15% extra to account for cuts, breakage, and future repairs.
5. Skipping the permit. Yes, it takes time. Yes, it's worth it. Unpermitted work can cost you far more when you sell your home.
6. Not testing paint colors first. Paint looks totally different in different lighting conditions. Always test samples on the actual wall in your bathroom before committing to a full gallon.
Planning a bathroom remodel doesn't have to be overwhelming. When you break it down step by step — defining your vision, setting your budget, designing your layout, hiring the right people, and staying organized through construction — it becomes a manageable, even exciting project.
The key is to plan first and move second. The homeowners who end up happiest with their renovations are the ones who thought it all through before the first tile was pulled.
Whether you're tackling a small powder room refresh or a full master bathroom gut renovation, use this bathroom remodel planning guide to keep yourself on track. You've got this.
Ready to start planning? The team at LRL Builders has been helping East Bay and Walnut Creek homeowners plan and complete beautiful bathroom renovations for years. Contact us today or schedule a free estimate — we'd love to help you build something great.
A small bathroom refresh (new fixtures, paint, no layout changes) can take 1–2 weeks. A full gut remodel with layout changes, new tile, and updated plumbing usually takes 3–6 weeks. Custom orders and permit waits can push that longer. Always ask your contractor for a realistic timeline before work starts, and build in buffer time.
Labor is typically the biggest cost in a bathroom remodel, especially for tile work, plumbing, and electrical. On the materials side, a custom vanity, freestanding soaking tub, or frameless glass shower enclosure can be very pricey. Moving plumbing to a new location is also a major cost driver.
For most major bathroom remodels — anything that involves moving plumbing, updating electrical, or structural changes — yes, you need a permit. Simple cosmetic updates like replacing a faucet or painting usually don't require one. Check with your local building department to be sure.
Yes, absolutely. The key is prioritizing. Keep the existing layout to avoid plumbing costs. Choose stock vanities and fixtures instead of custom. Do your own painting. Use porcelain tile that mimics stone at a fraction of the price. Even a modest $5,000–$8,000 budget can produce a dramatically improved bathroom if you plan carefully.
Ask friends and neighbors for referrals first — word of mouth is gold. Check online reviews on Google and Yelp. Verify that any contractor you hire is licensed and insured. Get at least three written quotes. Ask to see photos of past bathroom projects. Never pay the full amount upfront — a reasonable deposit is typically 10–30%, with the rest paid in stages.
Unless you're a licensed plumber, leave all plumbing work to a professional. Your contractor will coordinate this. If you're keeping fixtures in the same location, plumbing costs are minimal. If you're moving things around or adding new fixtures, budget for additional plumbing work and potentially a plumbing permit as well.
This is tricky but manageable. Talk to your contractor about sequencing the work so the toilet and sink are functional as much as possible during the project. Plan to stay with family or friends during the most disruptive phases (like demolition week). Set up a temporary shower if possible. This is also a reason to get everything ordered and planned before demo starts — a well-organized contractor can move much faster and minimize your downtime.
It depends on your market and your budget. Bathrooms are one of the top renovation ROI investments — a well-done bathroom remodel can return 60–70% of its cost in added home value. However, a full gut renovation right before selling often doesn't make financial sense unless the bathroom is truly outdated or damaged. Cosmetic updates — new fixtures, fresh paint, new mirrors and lighting — often give you the best bang for your buck if you're prepping to sell.

We are a trusted and experienced General Contractor serving Walnut Creek, CA, and the East Bay Area.